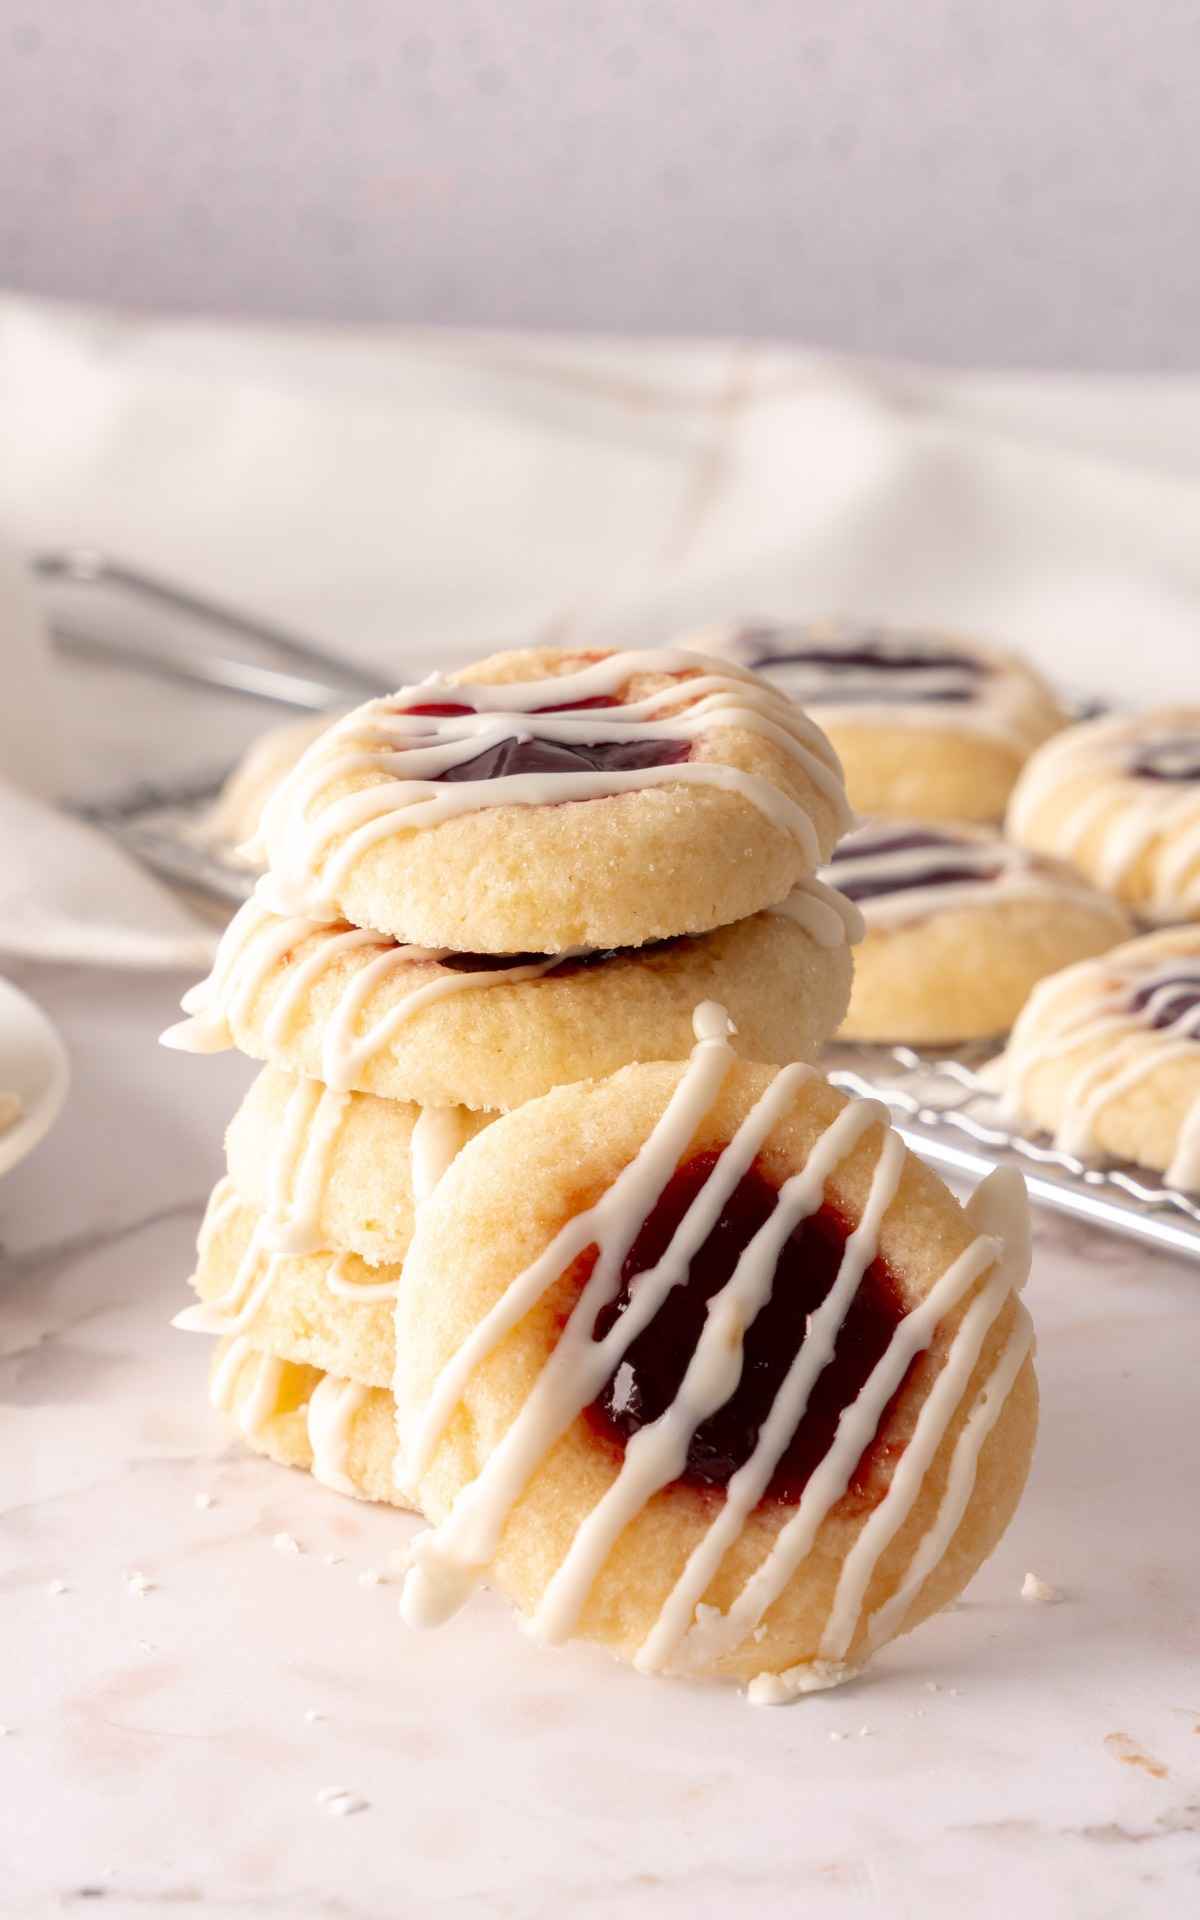
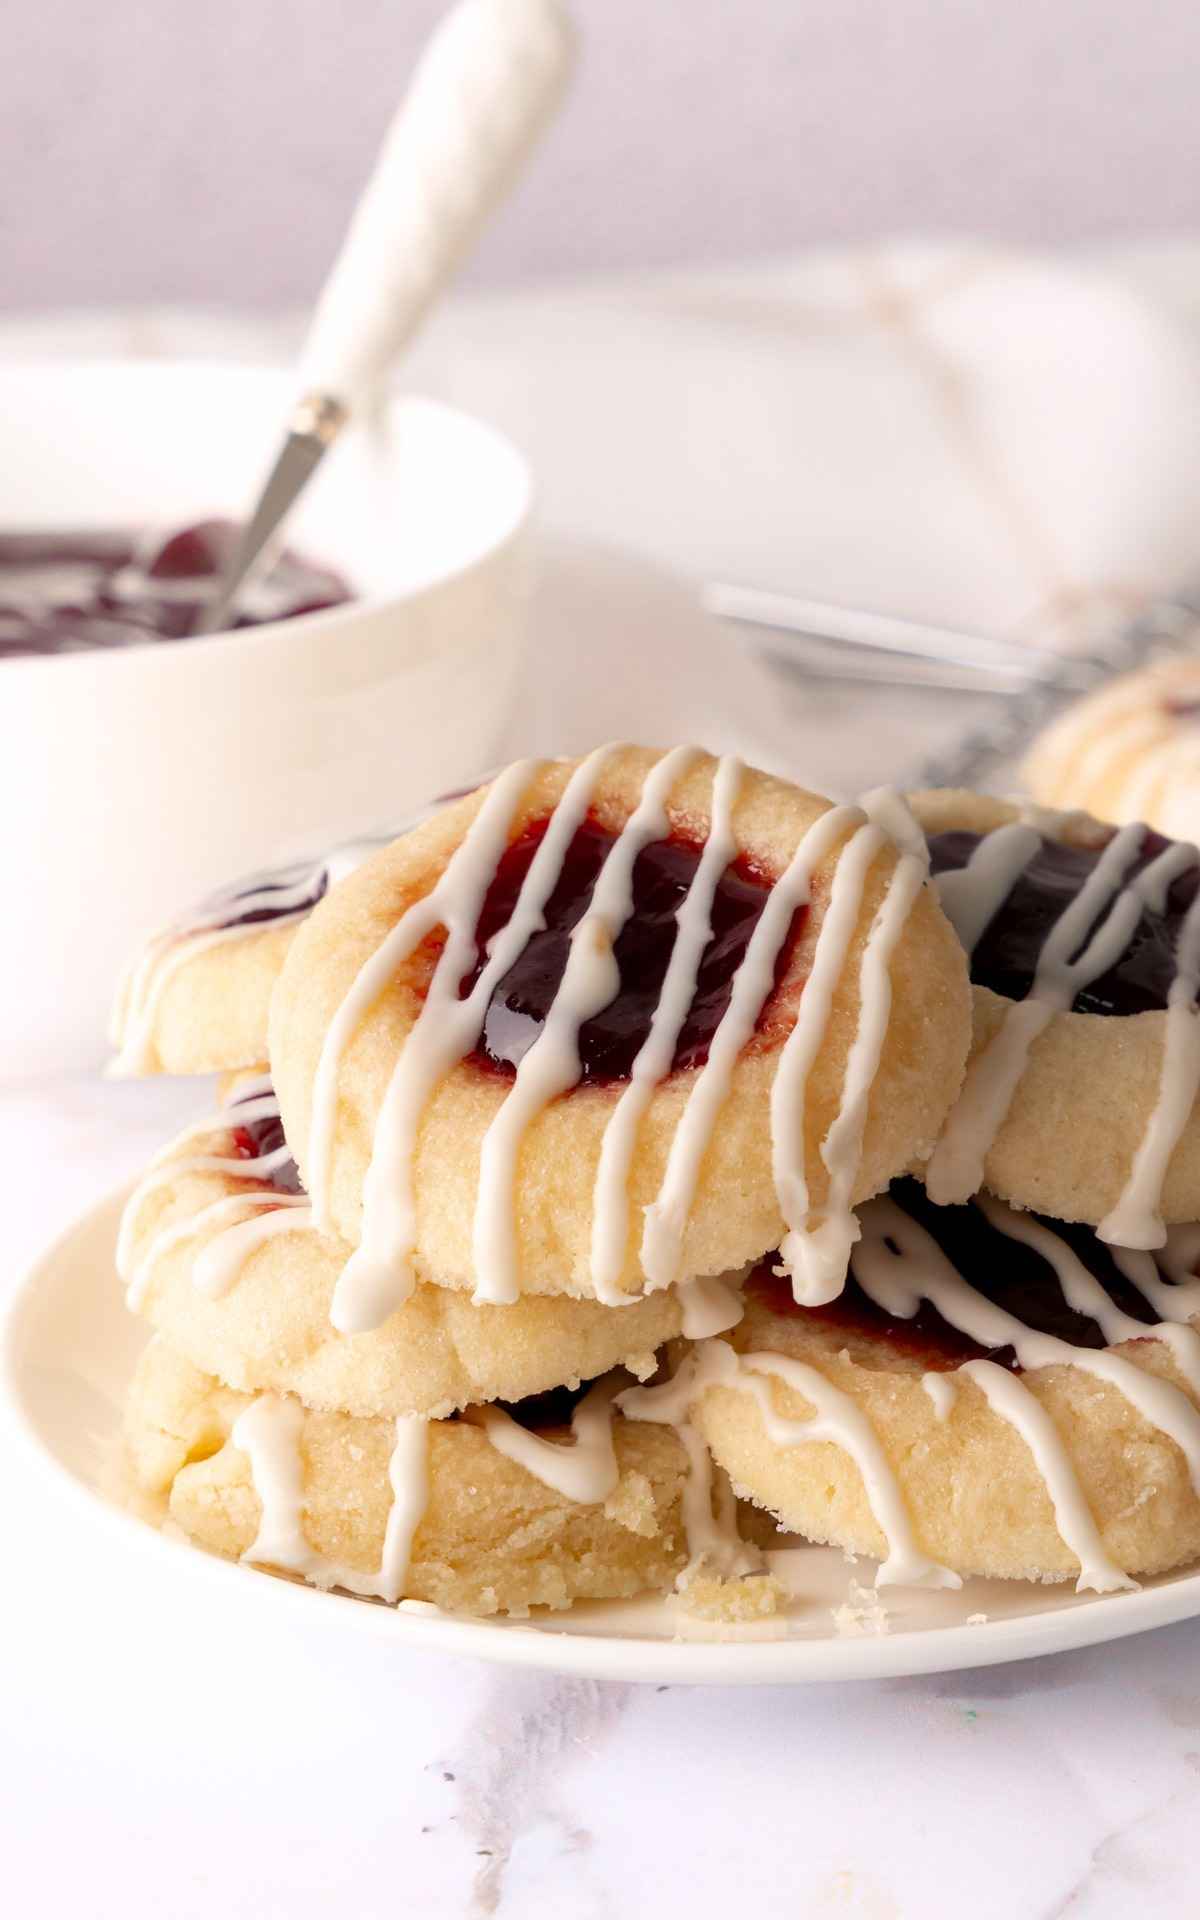
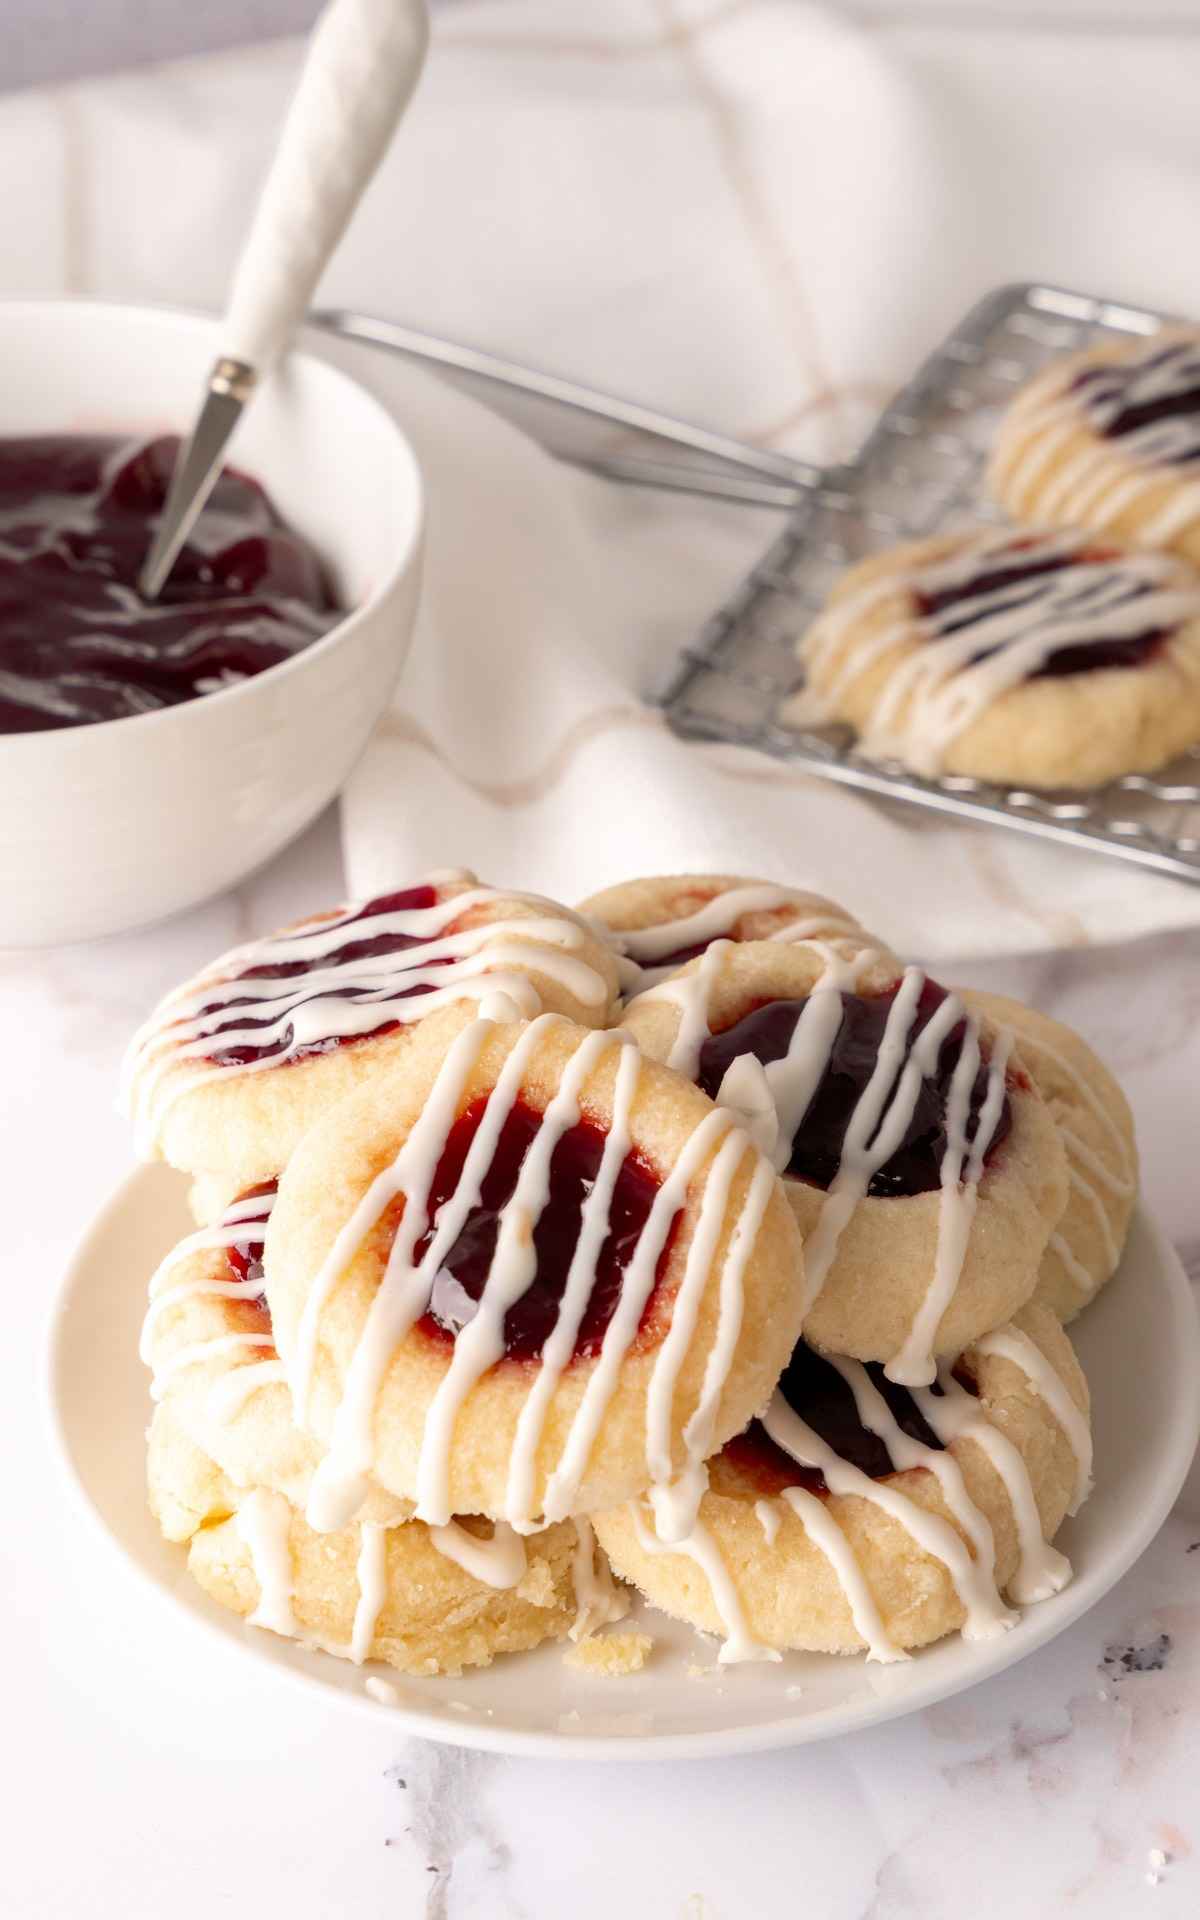
Soft, buttery thumbprint cookies rolled in sugar, with a raspberry jam center and a light vanilla glaze. One bowl, a jar of jam, and they look like they came from a bakery.
WHY YOU'LL LOVE THIS RECIPE
- The dough comes together in one bowl, and you don't even need a mixer if you don't want one.
- Cornstarch keeps the cookies soft and gives them that meltaway texture, it's the little secret that makes them better than a regular sugar cookie.
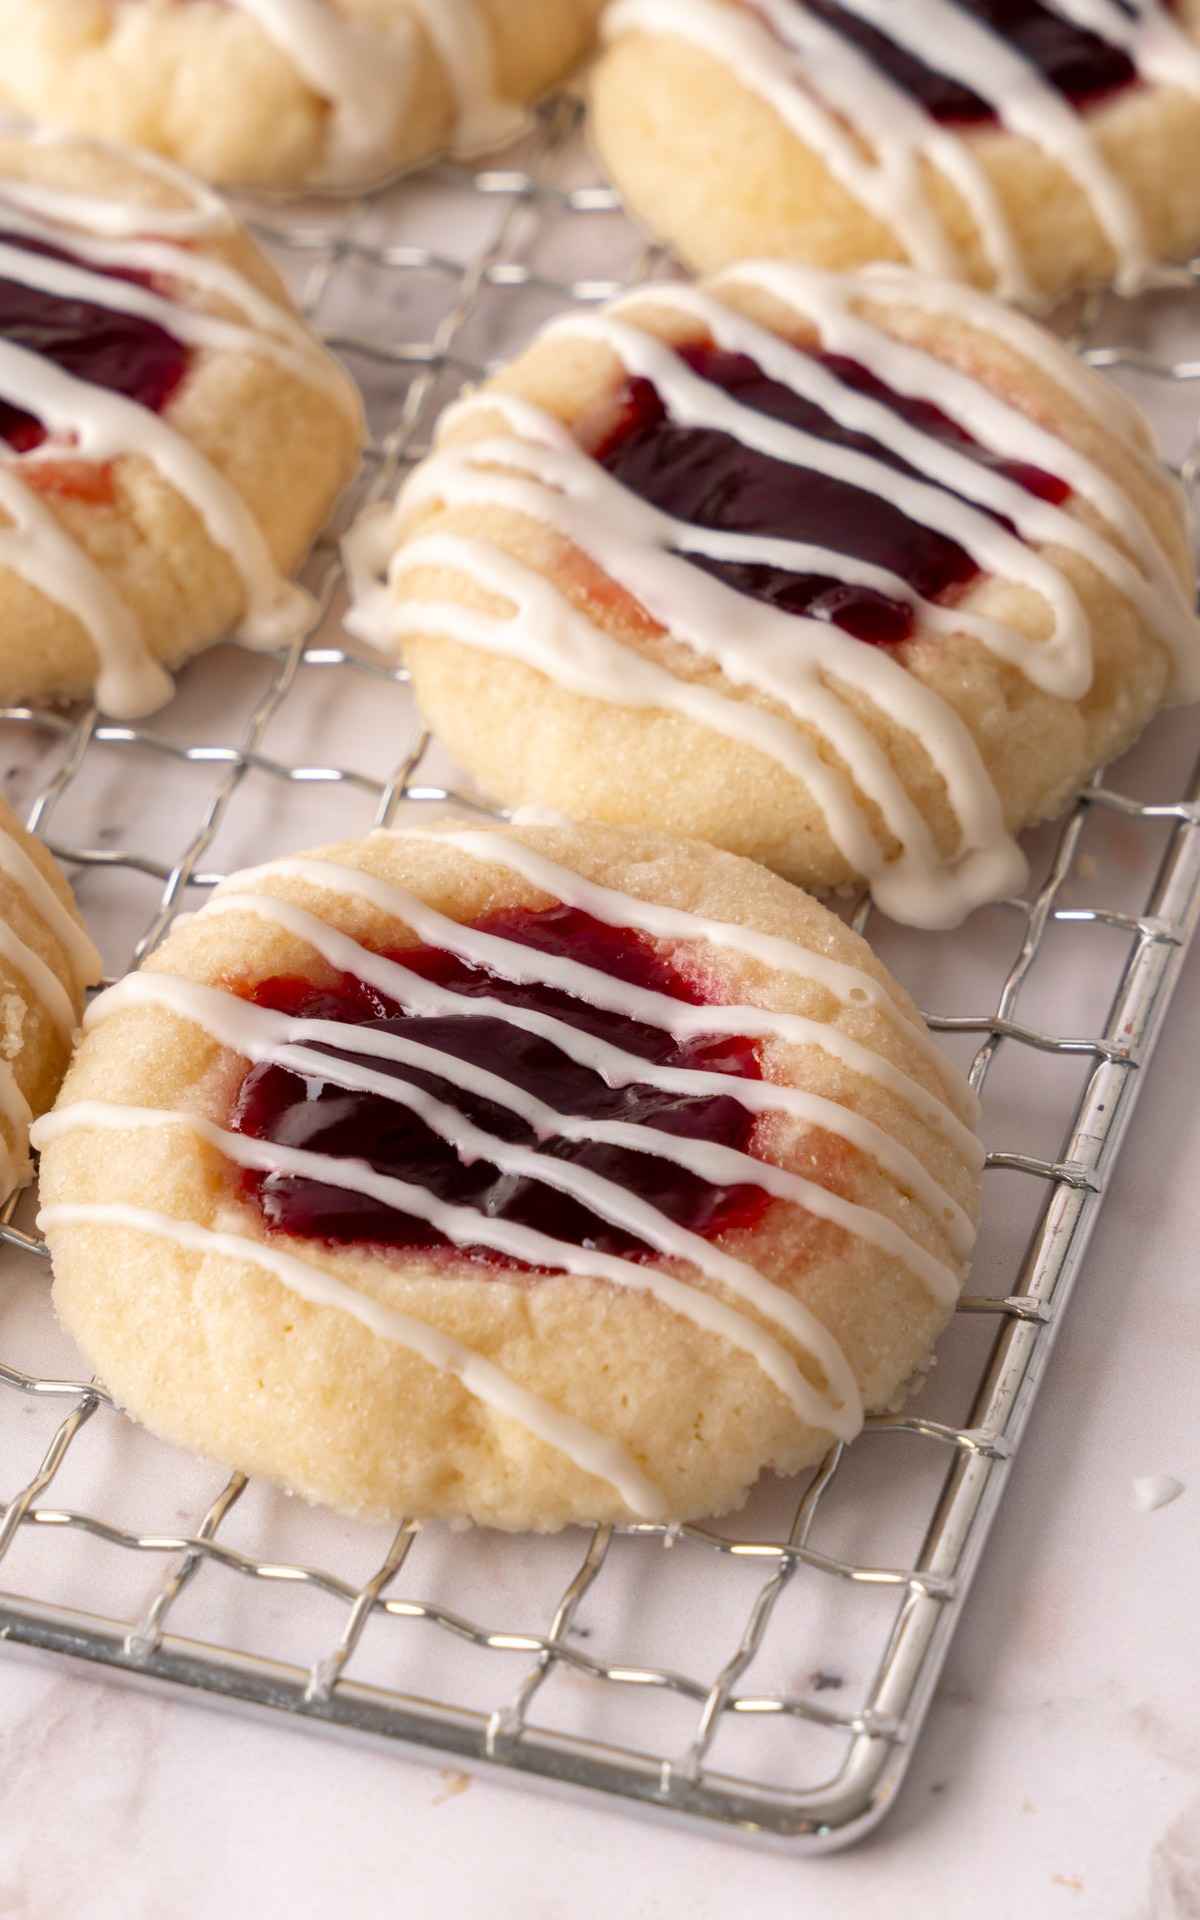
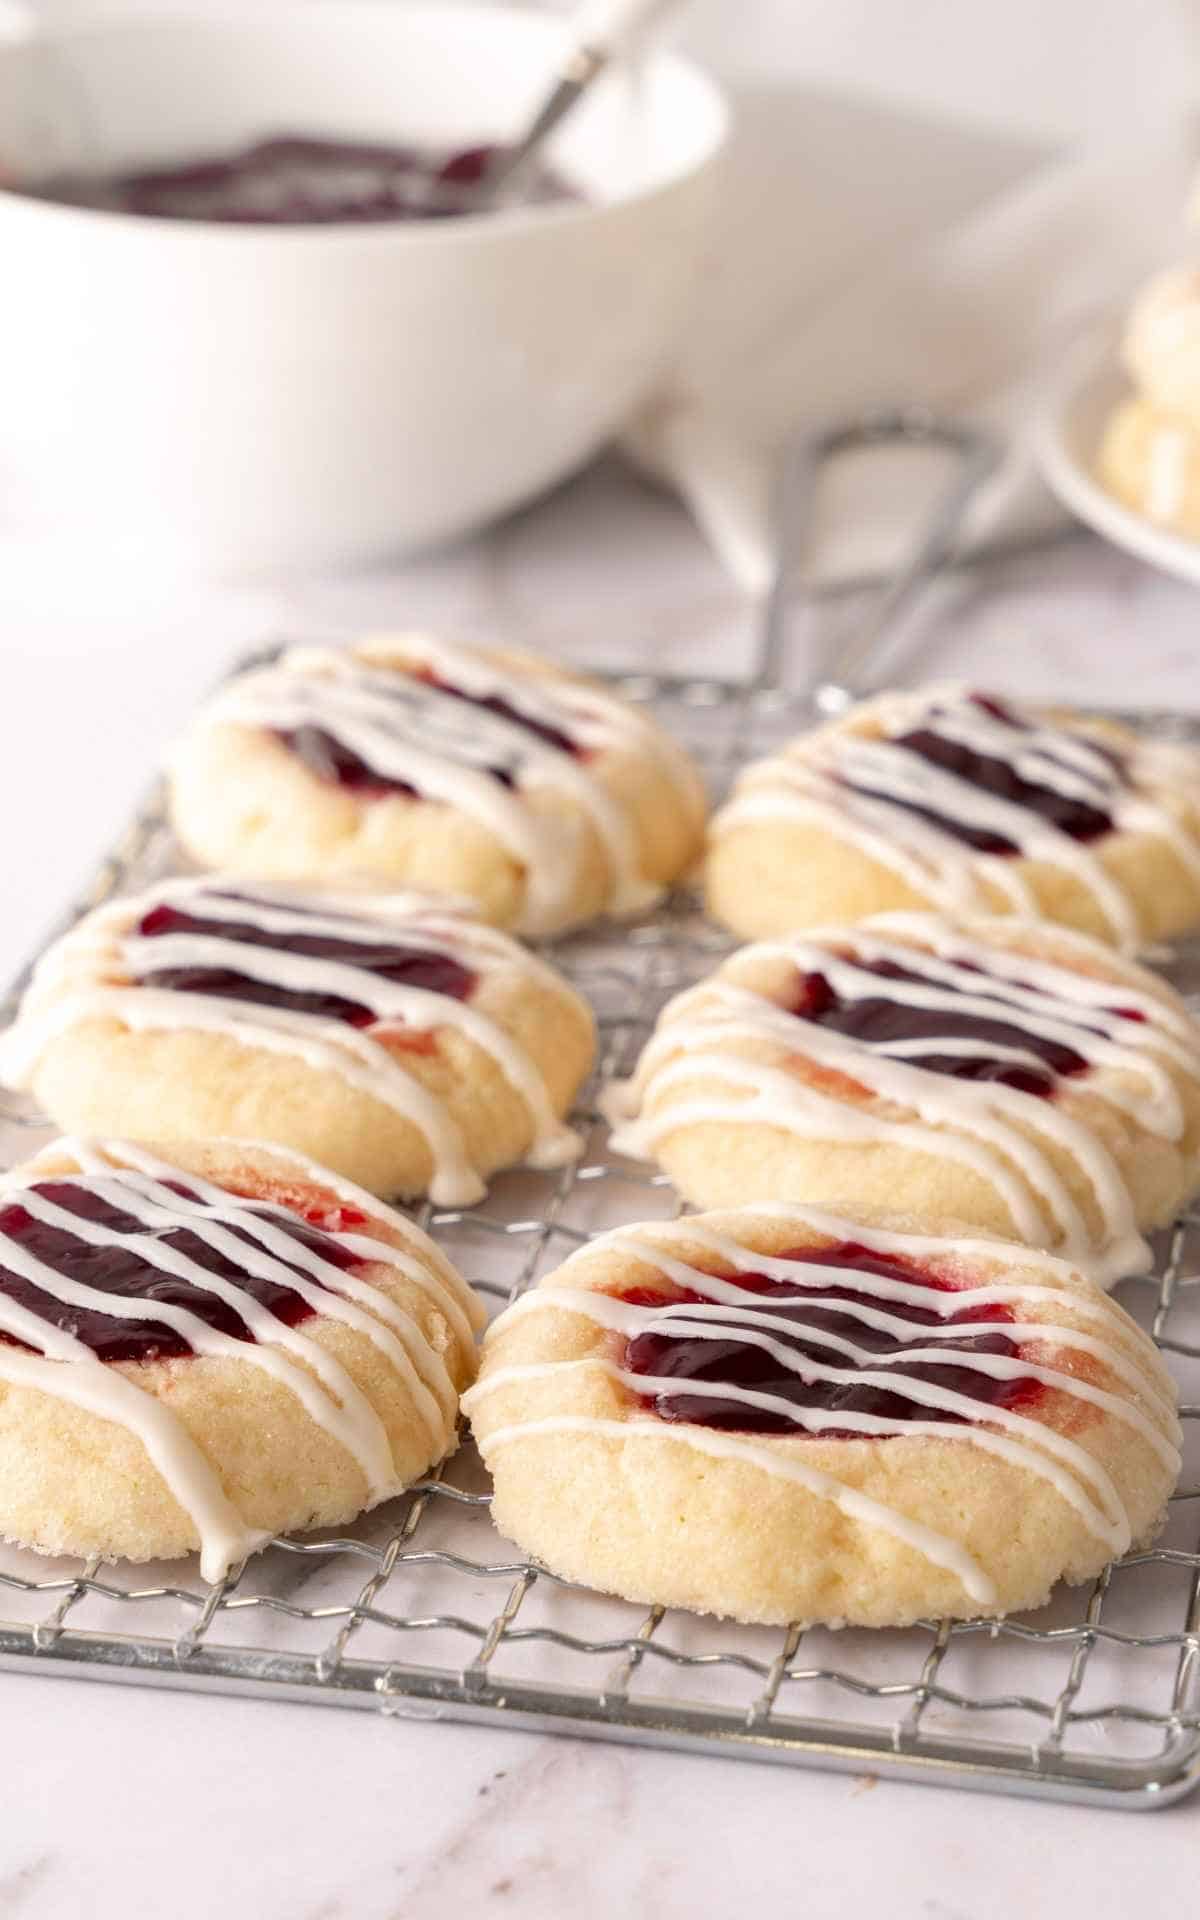
- That jam center is just pretty. I love the way the red raspberry sits against the pale sugar-coated cookie with the white glaze on top. It looks like something you'd buy, not something you made on a Tuesday.
- They hold their shape when you press the well, so the jam stays right where it goes.
WHAT YOU NEED FOR RASPBERRY THUMBPRINT COOKIES
- Unsalted butter
- Powdered sugar
- Almond extract
- All-purpose flour
- Cornstarch
- Kosher salt
- Granulated sugar, for rolling
- Seedless raspberry jam
- For the vanilla glaze, powdered sugar, milk, and vanilla extract.
Full measurements are in the recipe card below.
HOW TO MAKE RASPBERRY THUMBPRINT COOKIES
- Mix the dough. Beat the softened butter, powdered sugar, and almond extract until light and fluffy. Scrape down the bowl so nothing hides at the bottom.
- Add the dry ingredients. Mix in the flour, cornstarch, and salt just until the dough comes together. Don't overmix or the cookies turn tough.
- Roll and sugar. Roll the dough into tablespoon-sized balls, or use a #40 cookie scoop if you have one. Roll each ball in granulated sugar to coat.
- Make the wells. Place the balls about 2 inches apart on parchment-lined baking sheets. Press the back of a small spoon into the center of each one to make a little well. Smooth any cracks so the jam doesn't leak out.
- Chill. Refrigerate the shaped cookies for 1 hour, and preheat the oven to 325°F.
- Fill. Spoon about ½ teaspoon of jam into each well, keeping it below the rim.
- Bake. Bake 13 to 16 minutes, until the edges are set and the bottoms are just starting to turn golden. Keep the tops pale, you don't want them brown.
- Cool. Let the cookies cool completely on the baking sheets before moving them, they're soft when warm and a little fragile.
- Glaze. Whisk the powdered sugar, milk, and vanilla together, adding milk a few drops at a time until it drizzles. Drizzle over the cooled cookies and let it set.
TIPS FOR PERFECT THUMBPRINT COOKIES
- Soften the butter, don't melt it. Greasy butter makes flat cookies that lose their wells.
- Roll the balls in granulated sugar before you make the wells. It gives the cookies that sparkly finish and a little crunch, and skips the flattening step.
- Use the rounded back of a teaspoon for the wells. It makes a clean, even indent without smashing the cookie flat.
- Chill the dough before baking so the cookies don't spread and the centers don't close up.
- Don't overfill the jam. A heavy spoonful bubbles over the edges and sticks to the pan.
- Bake just until the edges set and the bottoms turn golden. Pull them while the tops are pale so they stay soft.
- Let them cool all the way before glazing, or the drizzle melts off the warm cookies.
RASPBERRY THUMBPRINT COOKIE VARIATIONS
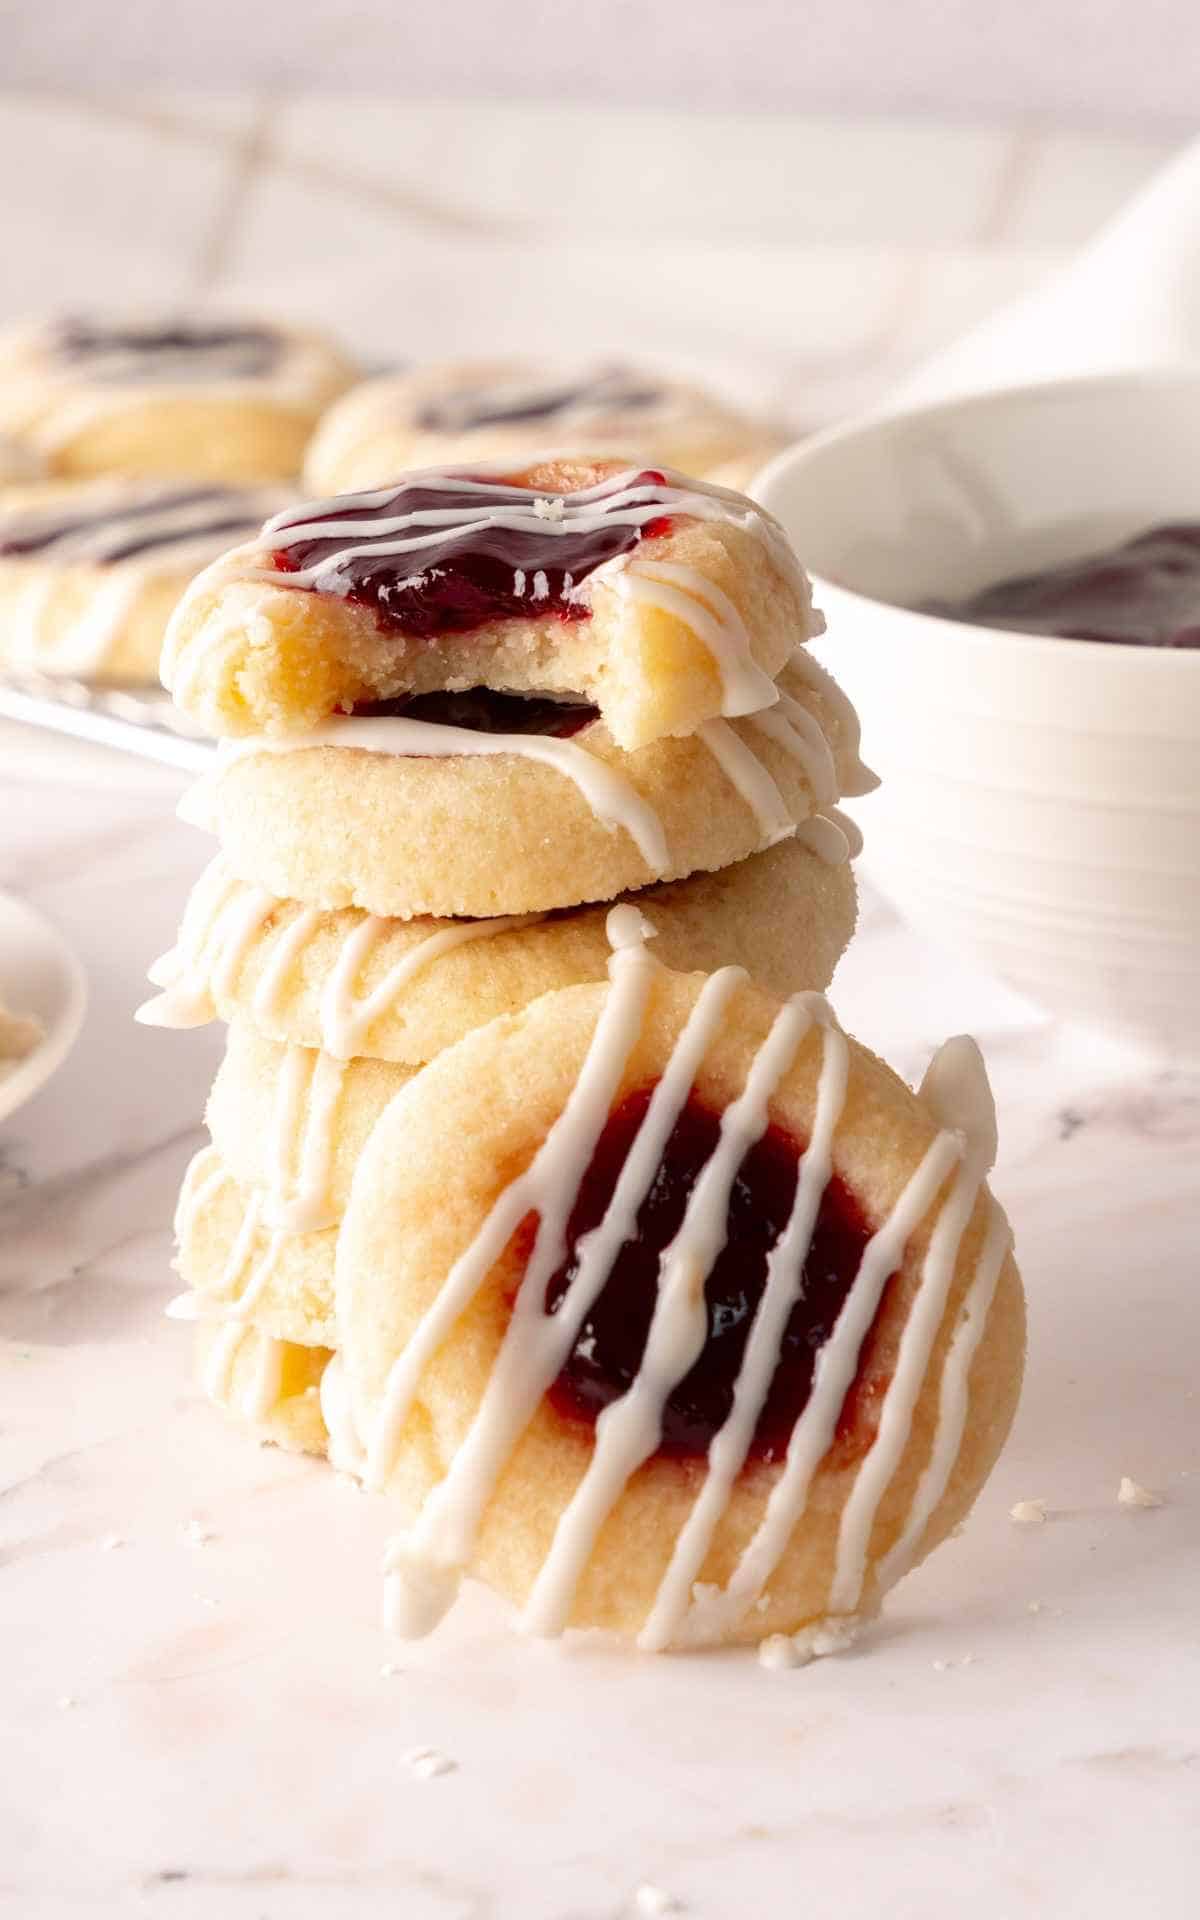
Swap the jam for apricot, strawberry, blackberry, or lemon curd. The center well works with all of them, and each one changes the cookie just enough to feel new.
Leave out the almond extract for a plainer cookie, or switch it for vanilla if that's more your style. The almond really does make the raspberry pop though, so I'd keep it in. These raspberry almond thumbprint cookies get their flavor from that little bit of extract, and it's worth it.
If you like raspberry jam thumbprint cookies like these, my jam ribbon cookies run the jam right through the middle instead of a well, and my kolaczki recipe wraps the jam up in a soft cream cheese dough. Make any of the three and you can't go wrong.
HOW TO STORE RASPBERRY THUMBPRINT COOKIES
Keep the cooled cookies in an airtight container at room temperature, layered with wax paper so the jam doesn't stick. They stay soft about a week.
Glaze them the day you serve them if you want that fresh drizzle look. Unglazed cookies keep a little better if you're making them ahead.
Freeze the baked cookies with parchment between the layers. Thaw at room temperature and glaze after.
📖 Recipe
Raspberry Thumbprint Cookies
Equipment
Ingredients
For the cookies
- ¾ cup unsalted butter - softened
- ½ cup powdered sugar
- 1 teaspoon almond extract
- 1 ½ cups all-purpose flour - spooned and leveled
- 3 tablespoons cornstarch
- ¼ teaspoon kosher salt
- granulated sugar - for rolling
- ⅓ cup raspberry jam - seedless
For the vanilla glaze
- ½ cup powdered sugar
- 2 teaspoons milk - plus more as needed
- ¼ teaspoon vanilla extract
Instructions
- Line two baking sheets with parchment paper.
- In a large bowl, beat the butter, ½ cup powdered sugar, and almond extract until light and fluffy. Scrape down the bowl.
- Add the flour, cornstarch, and salt, and mix just until the dough comes together.
- Roll the dough into tablespoon-sized balls, or use a #40 cookie scoop.
- Roll each ball in granulated sugar to coat.
- Place the balls about 2 inches apart on parchment-lined baking sheets.
- Press an indentation into the center of each ball using the rounded back of a teaspoon. Smooth any cracks.
- Refrigerate the shaped cookies for 1 hour.
- Preheat the oven to 325°F.
- Spoon about ½ teaspoon of raspberry jam into each indentation, keeping it below the rim.
- Bake for 13 to 16 minutes, until the edges are set and the bottoms are just starting to turn golden.
- Let the cookies cool completely on the baking sheets.
- Whisk together the ½ cup powdered sugar, milk, and vanilla extract, adding milk a few drops at a time until it drizzles.
- Drizzle over the cooled cookies and let the glaze set before serving.
Notes
- The dough spreads less when it's cold, so don't skip the chill. Give the shaped cookies the full hour in the fridge, or up to 2 hours if your kitchen runs warm.
- Roll the dough balls in granulated sugar before you make the wells, it gives the cookies a light sparkly finish and a little extra texture on the outside.
- Use the rounded back of a teaspoon to press the wells. It makes a clean, even indent without flattening the whole cookie, and the jam stays put.
- A #40 cookie scoop portions the dough fast and even if you have one, otherwise tablespoon-sized balls work the same.
- Keep the jam below the rim of the well so it doesn't bubble over and stick to the pan.
Nutrition
Nutritional information is an estimate based on third-party calculations. Actual values may vary due to ingredients, measurements, and serving sizes.
© Mama Needs Cake
Tried this recipe?
Let us know how it was!Dana is an experienced recipe creator who crafts easy and delicious recipes for all levels of home cooks.
Her recipes range from classic comfort foods to healthy and nutritious meals, and she is always on the lookout for new and exciting ways to bring flavor and variety to the table.