A sourdough starter is just flour and water, fed until it comes alive with natural yeast and bacteria. No packets. No special ingredients. This is how to make your own from scratch, and how to know when it is ready.
If you are new to this, the one thing to understand early is that the starter is everything. Get the starter right and the bread follows. Get the starter wrong and every loaf fights you.
What Is a Sourdough Starter?
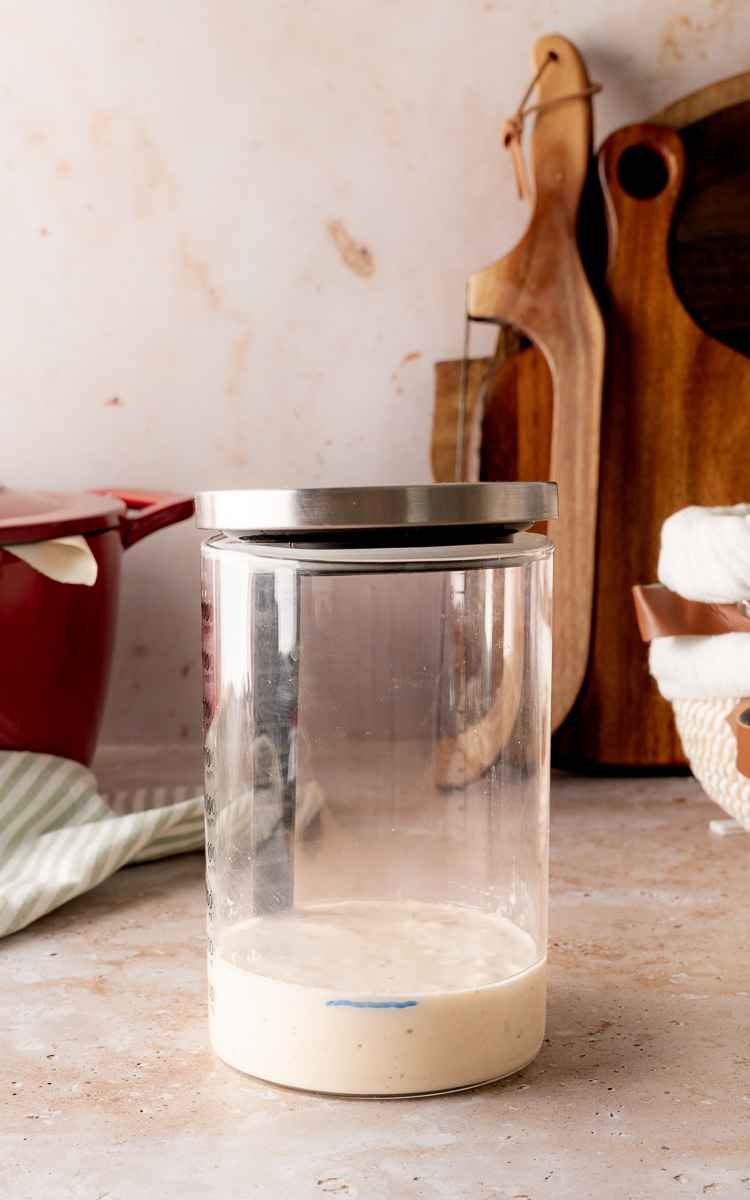
A sourdough starter is flour and water, fed regularly, until it becomes bubbly and active. It is the base for every sourdough recipe you will make.
Feeding is simple. You remove some starter, then add fresh flour and water. The portion you remove is called discard. The fresh flour and water feed the yeast and bacteria so the starter stays strong.
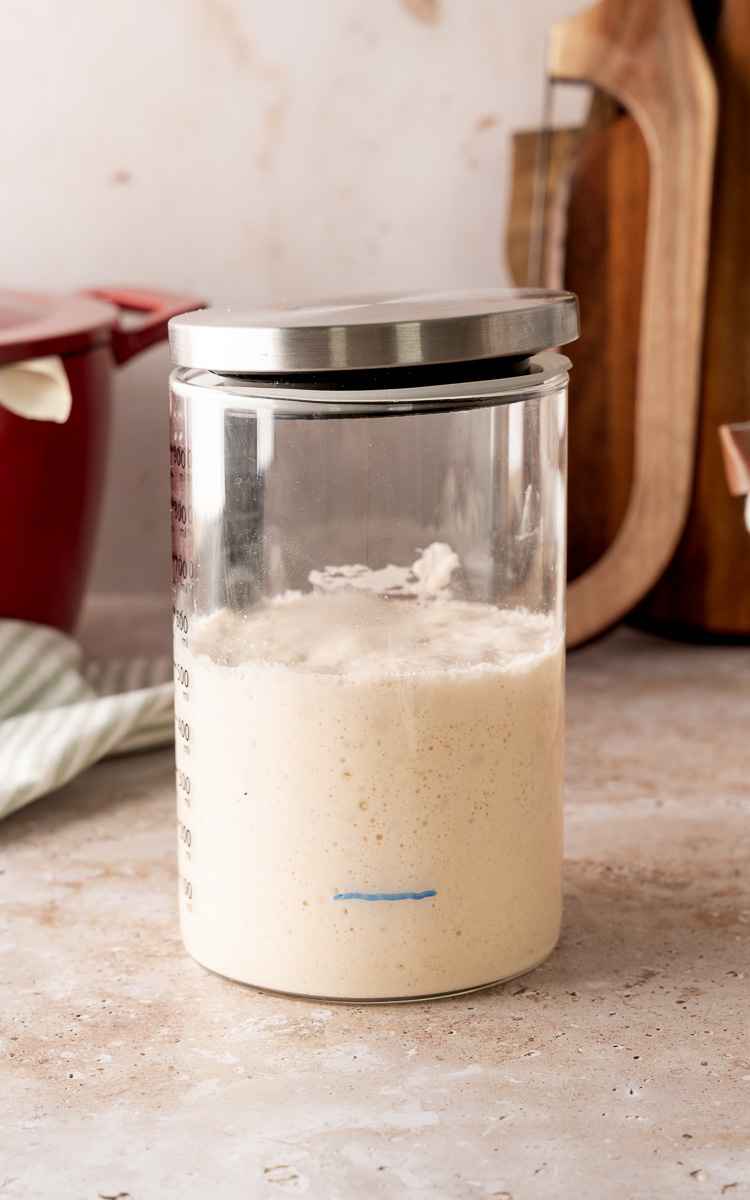
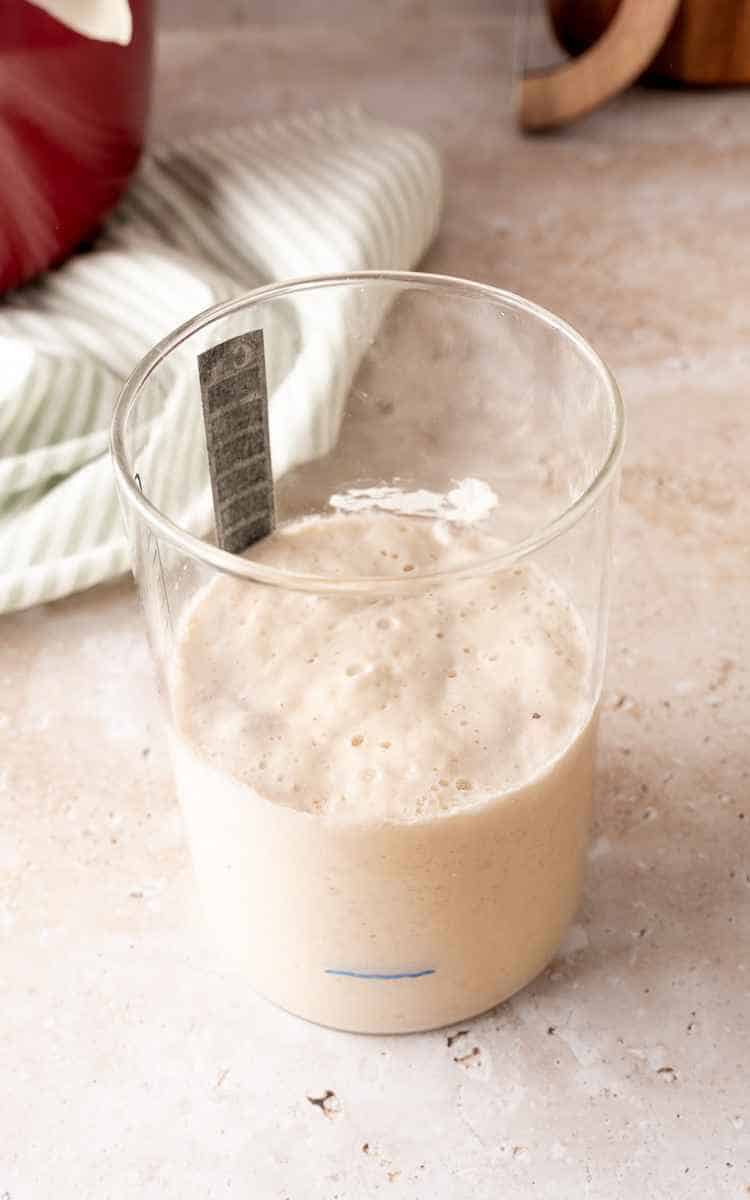
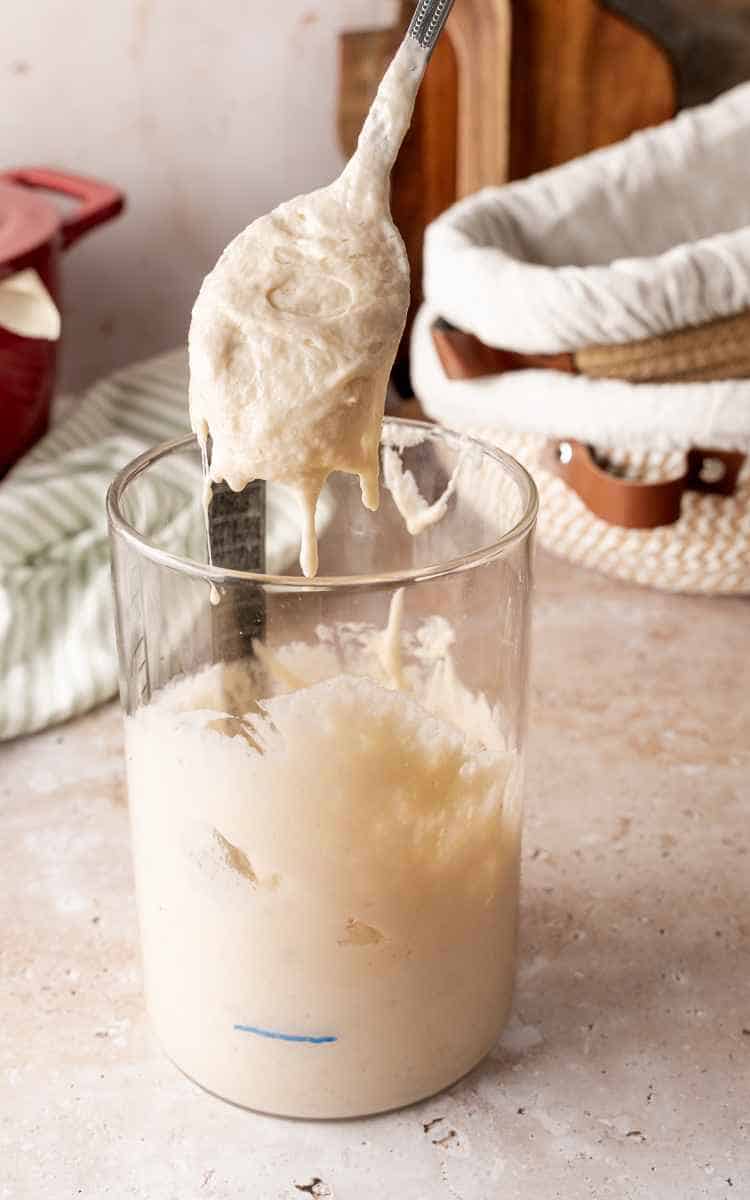
A healthy starter rises after feeding, has bubbles throughout, and smells pleasantly tangy. A brand-new starter takes several days to get strong enough to bake with. Patience is the entire game. Do not rush it.
What to Expect Each Day
A new starter follows a pattern. Knowing the pattern keeps you from panicking on the quiet days.
- Day 1: Thick paste. No activity yet.
- Days 2 to 3: Bubbles appear. A false rise may happen. Do not bake yet.
- Days 4 to 5: The starter may go quiet. This is normal. Keep feeding.
- Days 6 to 7: Consistent rising and falling. Doubles after feeding.
- Day 8 and after: Doubling reliably three times in a row. Ready to bake and save discard.
That stretch on days four and five catches more beginners than anything else. The bubbles disappear and people think the starter died. It did not. It is stabilizing.
How to Make a Starter
- Use bread flour and room-temperature water. Weigh everything. Sourdough is about ratios, not cups, and a kitchen scale makes it reliable.
- Day one. Stir 50 grams of bread flour and 50 grams of water in a clean glass jar. Loosely cover. Leave it at room temperature for 24 hours.
- Every day after. Discard down to about 50 grams of starter. Feed it 50 grams of bread flour and 50 grams of water. Stir, cover loosely, and leave at room temperature.
This is a 1:1:1 ratio: one part starter, one part flour, one part water. It is the easiest ratio for a beginner. A 1:1:1 feeding peaks in four to six hours. A 1:2:2 lasts longer, eight to twelve hours. As you get comfortable you can adjust, but start with 1:1:1.
Repeat daily until the starter doubles reliably after feeding, usually five to seven days.
Water, Flour, and Temperature
Use bread flour. It has more protein and feeds a stronger, more reliable starter than all-purpose. Whole wheat or rye work too and speed up the process, but bread flour is the simplest starting point.
Use filtered or bottled water if your tap water is chlorinated. Chlorine slows fermentation. If you only have tap water, fill a jug and leave it out overnight so the chlorine off-gasses, then use it.
Temperature drives everything. A starter ferments fastest around 75 to 80°F. Warmer speeds it up, cooler slows it down. If your kitchen runs cold, move the jar near a warm spot or feed with slightly warmer water.
The False Rise
The most common beginner mistake is baking with the first rise. It is called a false rise, and it happens in the first few days.
A new starter will often bubble up and rise quickly within the first two or three days. It looks ready. It is not. That early activity is wild bacteria and yeast settling in, not a stable starter. Bake with it and you get a dense, flat loaf.
Do not use the first rise as your signal. Wait until the starter has doubled after feeding at least three times in a row. That consistency is what tells you the starter is actually strong.
When Is the Starter Ready?
- A starter is ready when all four of these are true.
- It doubles in size after feeding at least three times in a row.
- It has bubbles on top and throughout.
- It rises and falls in a predictable pattern.
- It smells pleasantly tangy, yeasty, or slightly fruity.
- The smell matters. A ready starter smells bready. A hungry starter smells sharp, like vinegar or nail polish remover, and needs feeding. A starter that smells rotten or moldy should be thrown out and restarted.
- A warmer kitchen speeds fermentation. A cooler one slows it. If your starter is sluggish, move it somewhere warmer and keep the feedings consistent.
What Is Hooch?
Hooch is the liquid that forms on top of a hungry starter. It is clear or grayish, and it can smell sharp or slightly alcoholic.
Hooch is a normal sign that the starter has run out of food. Do not throw the starter away.
If the starter is otherwise healthy, stir the hooch back in and feed as usual. Or pour it off and feed. Both work. Stirring it in gives a slightly more sour loaf.
If there is a lot of hooch and it smells very sharp, the starter has been neglected. Feed it a few times and it recovers.
Keep the feedings consistent and you will see less hooch. It appears when the starter is hungry.
When to Worry vs. When to Keep Going
Most starter problems are normal. A few are not. Learn the difference before you throw anything away.
Keep going if it is not bubbling yet on day two or three. That is normal. Starters take five to seven days. If it has hooch on top, it is just hungry. If it smells sharp or vinegary, it is hungry, not dead. If it rose and fell between feedings, that is a healthy starter doing its job. If your bread came out dense, that is the recipe or timing, not the starter.
Restart if it has mold. Any pink, orange, black, or fuzzy growth means throw it away and start fresh with a clean jar. Restart if it smells rotten, not just sharp. A putrid smell is contamination, not hunger. Restart if it has not risen at all after two weeks of consistent daily feeding.
Sharp and hungry are fixable. Mold and rot are not. If it is bubbly and smells bready, it is fine, even if it is not doubling as fast as you want.
Your First Sourdough Bread
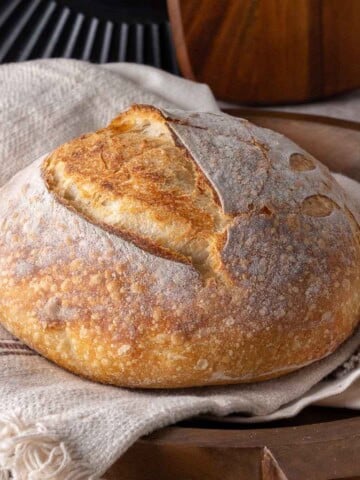
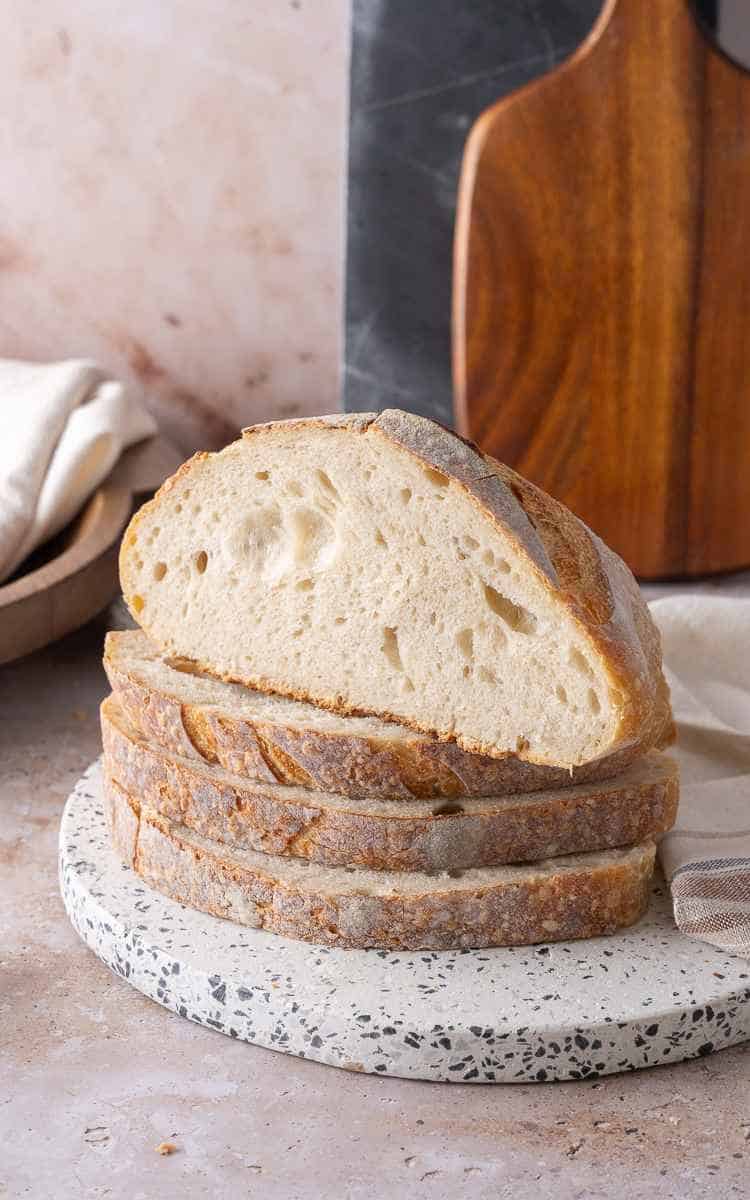
Once the starter is ready, you can bake. My sourdough bread for beginners recipe is the loaf to start with. It uses four ingredients, needs no kneading, and walks you through every step from first mix to scoring.
The dough rises slowly. Expect an eight to twelve hour bulk rise depending on the temperature. That long rise is where the flavor builds, so do not rush it.
Your first loaf will not be perfect. That is fine. Learn from it and bake another.
What Is Sourdough Discard?
Discard is the starter you remove before feeding. The name is misleading because once your starter is strong, discard is worth keeping.
Do not save discard until the starter has doubled after feeding at least three times in a row. Before that, the discard is immature. It has weak flavor and unsettled bacteria. Throw it out.
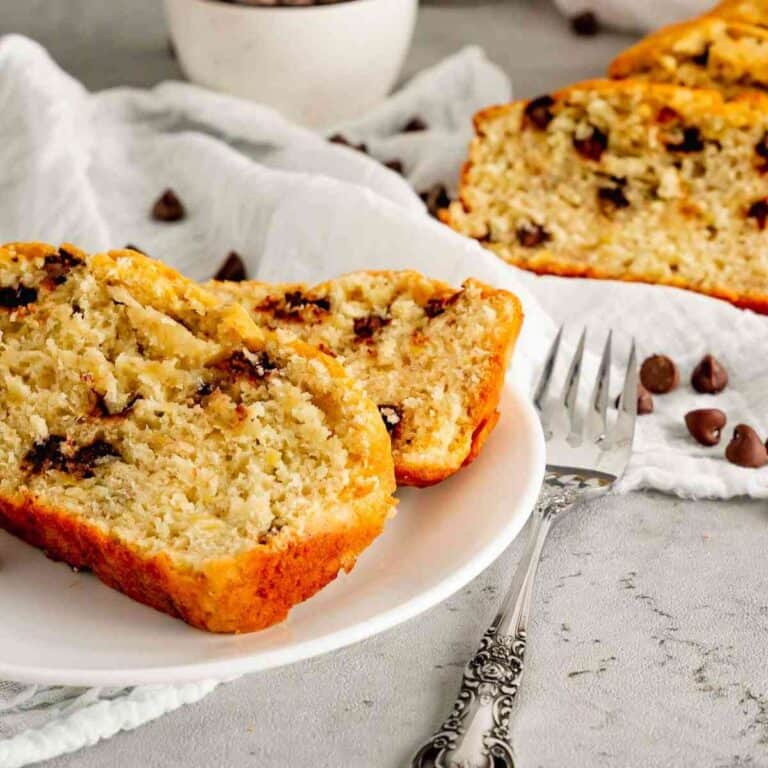
Once the starter is doubling reliably, save the discard. Use it in pancakes, muffins, cookies, crackers, and pizza dough. Discard recipes are more forgiving than bread, which makes them the best place for a beginner to start.
If you are nervous about baking a loaf, make discard recipes first. You use your starter and build confidence without the pressure of a bread bake.
Refrigerator Storage
Once your starter is established, you do not have to feed it every day. Refrigerate it and feed weekly.
Use your starter or feed it. Leave it on the counter to become active. When you are done baking, feed it, let it sit on the counter for an hour or two, then refrigerate. Feed it once a week while it is stored.
When you want to bake again, take it out the day before, feed it a few times to wake it up, and use it when it doubles.
Sourdough Tools
You do not need much. Four things get you started.
A kitchen scale. This is the one tool you should not skip. Ratios matter more than cups.
A glass jar for the starter. I keep two and rotate them out during feedings.
A spoon or spatula.
A Dutch oven, if your bread recipe calls for one.
Add a banneton, lame, and bench scraper later if you keep baking. Do not let missing tools stop you from starting. Dust the banneton with rice flour, not wheat flour. Rice flour will not soak into the wet dough and it releases cleanly, plus it gives the top of the loaf a white contrast against the crust.
Beginner Troubleshooting
Why is my starter not bubbling? It needs more time. New starters take five to seven days. Keep the feedings consistent and move it somewhere warmer.
Why did my starter rise and then fall? That is normal. It peaked and ran out of food. Feed it again.
Why does my starter smell sharp? It is hungry. Feed it.
Why is my bread dense? The starter was not active enough, or the dough did not rise long enough. Check the starter is doubling reliably before you bake.
What do I do with the first rise? Nothing. It is a false rise. Keep feeding until the starter doubles three times in a row.
Can I use discard right away? No. Wait until the starter has doubled three times in a row before saving discard.
Build a Routine
Sourdough becomes a habit, not a chore, when you stop doing everything at once.
Feed the starter before you want to bake. Use active starter for bread. Save discard once the starter is doubling reliably. Keep it in the fridge when you are not baking.
The goal is a routine that fits your week, not a second job. Feed it weekly in the fridge, wake it up the day before a bake.
More Sourdough Recipes
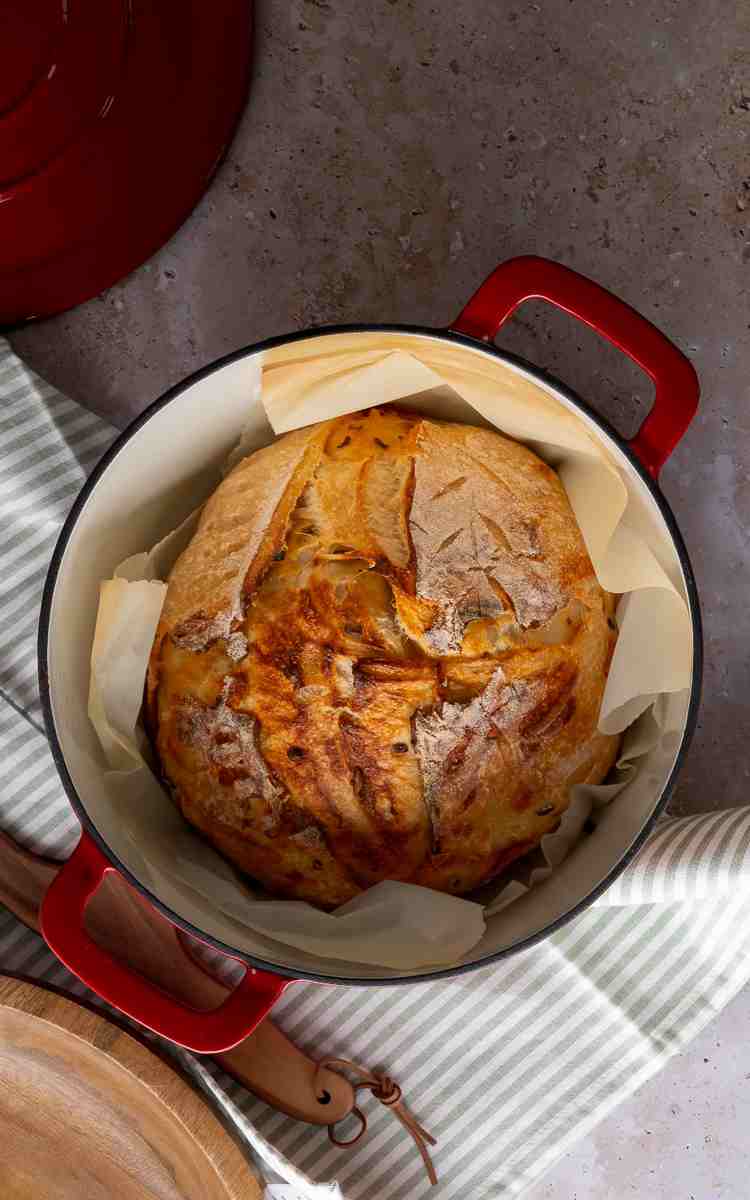
Jalapeno Cheddar Sourdough is the savory loaf I reach for on soup night. The cheese turns crisp at the edges and the jalapenos bring a slow heat.
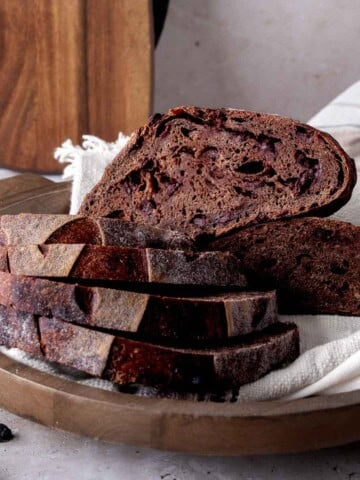
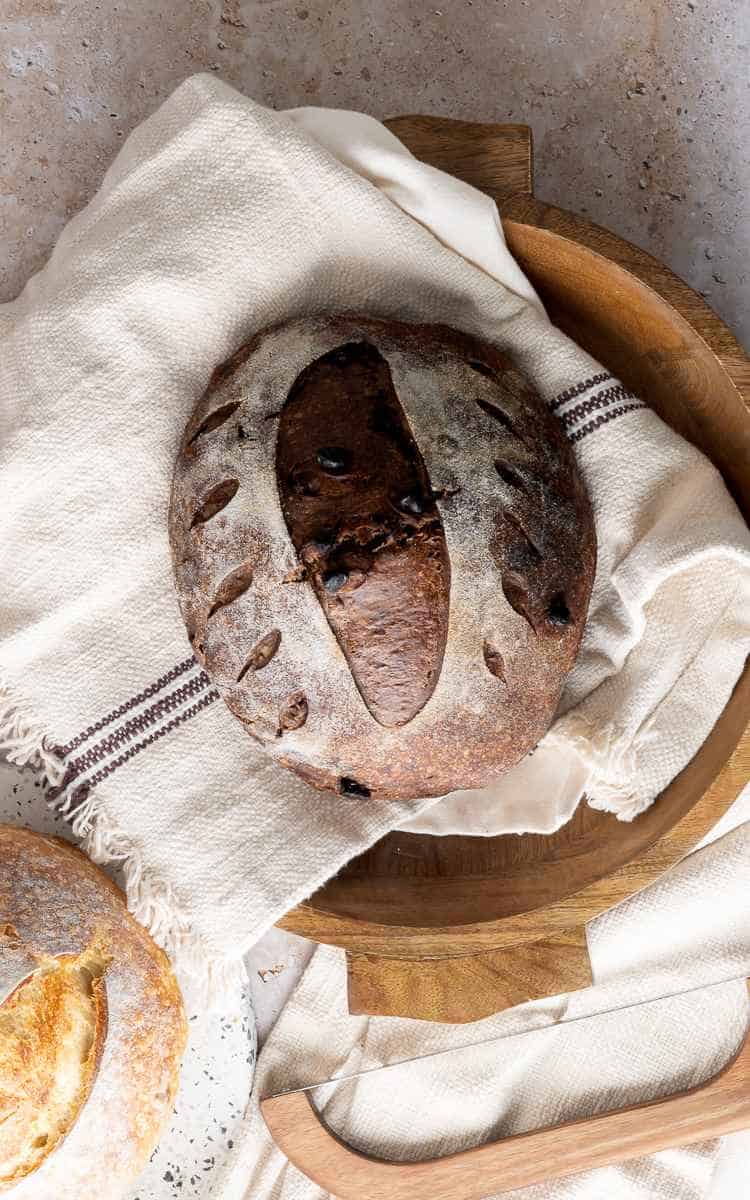
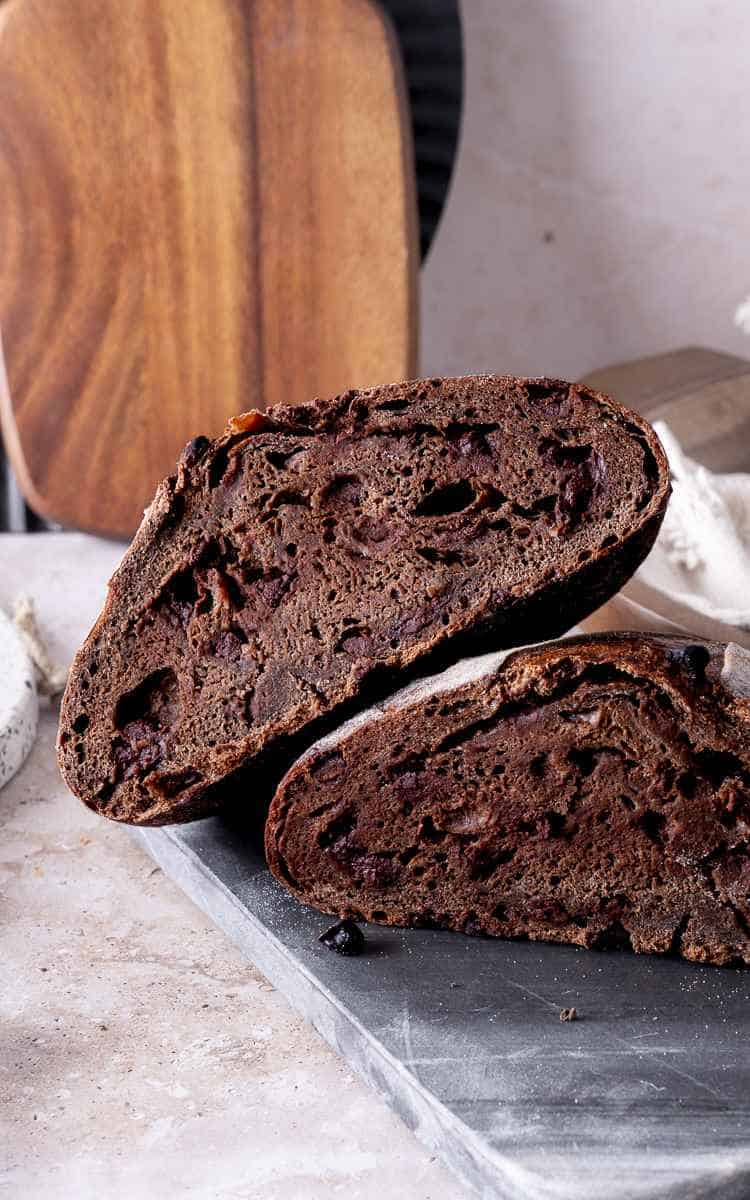
Chocolate sourdough bread is cocoa and espresso folded through the same base, with chocolate chips laminated in. It is my dessert loaf and it proves the starter you just built can do more than bake bread.
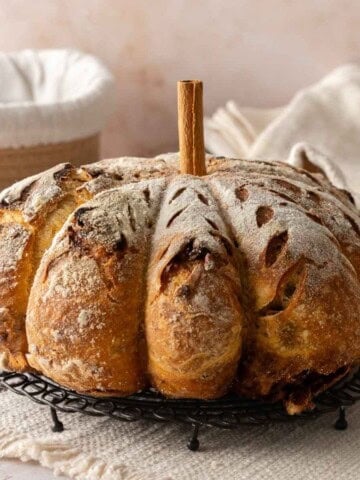
Pumpkin Sourdough is my fall loaf, swirled with cinnamon and pecans and naturally sweetened with pumpkin.
📖 Recipe
How to Make Sourdough Starter
Equipment
Ingredients
- 50 grams bread flour
- 50 grams water - room temperature
- For each daily feeding: 50 grams bread flour - 50 grams water
Instructions
- Stir 50 grams bread flour and 50 grams water in a clean glass jar until no dry flour remains.
- Loosely cover the jar. Leave at room temperature for 24 hours.
- The next day, discard down to about 50 grams of starter.
- Feed with 50 grams bread flour and 50 grams water. Stir, cover loosely, and leave at room temperature.
- Repeat daily until the starter doubles after feeding at least three times in a row, usually five to seven days.
- Do not use the first big rise. That is a false rise and the starter is not ready yet.
- Once the starter doubles reliably three times, is bubbly, and smells tangy or yeasty, it is ready to use.
- After the starter is established, save the discard for discard recipes.
- Refrigerate the starter and feed weekly when you are not baking regularly.
Notes
- Use bread flour and room-temperature water. Weigh everything.
- Feed the starter, not just add to it. Discard down, then add fresh flour and water.
- A 1:1:1 ratio is easiest for beginners. One part starter, one part flour, one part water.
- Do not bake with the first rise. It is a false rise.
- The starter is ready when it doubles after feeding three times in a row.
- Hooch is a hungry starter. Stir it in or pour it off and feed as usual.
- Mold or a rotten smell means restart. Sharp and hungry are fixable.
- Keep the established starter in the fridge and feed weekly.
Nutritional information is an estimate based on third-party calculations. Actual values may vary due to ingredients, measurements, and serving sizes.
© Mama Needs Cake
Tried this recipe?
Let us know how it was!Dana is an experienced recipe creator who crafts easy and delicious recipes for all levels of home cooks.
Her recipes range from classic comfort foods to healthy and nutritious meals, and she is always on the lookout for new and exciting ways to bring flavor and variety to the table.